Filled Chocolate Egg
Recipe by Peter Remmelzwaal

I. COMPOSITION
- Chocolate eggIn
- Milk chocolate almond gianduja
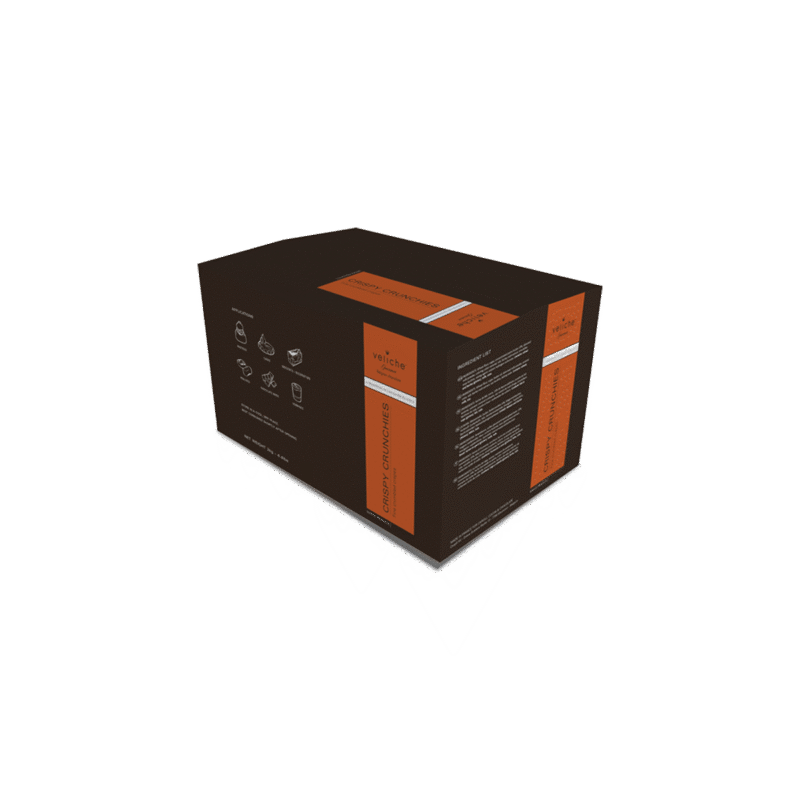
- Crispy Crunchies
II. CHOCOLATE EGG
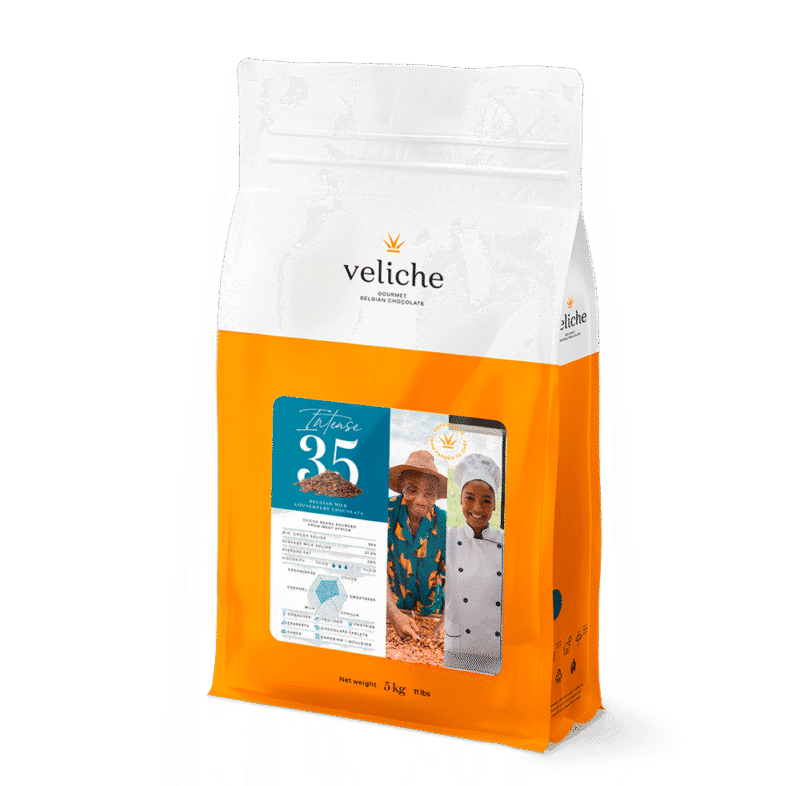
- Intense 35 Belgian milk couverture chocolate
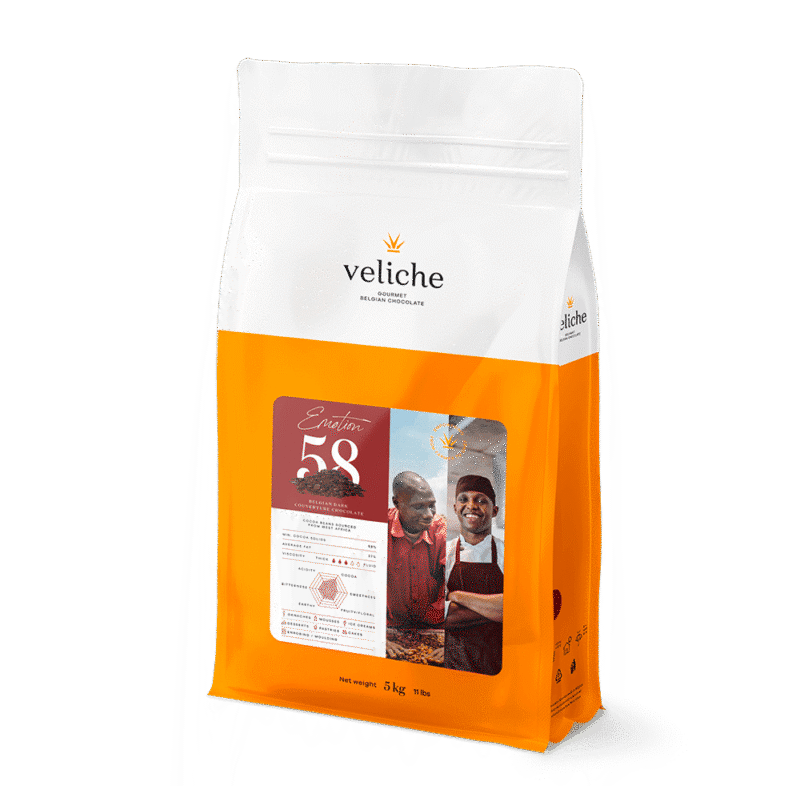
- Emotion 58 Belgian dark couverture chocolate
- Crispy crunchies
- Deodorized Cocoa butter
MATERIAL REQUIREMENTS
- Baking paper + plastic sheets
- Easter egg chocolate mold 88mm
- Skewer
- Flexipan chocolate mold
- Illustration of an Easter bunny’s head
- Round cookie cutters
STEP 1
- Heat the Intense 35 Belgian milk couverture chocolate to the correct temperature for processing.
- Use the piping bag to apply a layer of Intense 35 Belgian milk couverture chocolate into a flexipan chocolate mould.
- Tip: Of course, you can also use different shapes.
STEP 2
- After the hardening, remove the chocolate shapes from the mat.
- Place the chocolate shapes on a baking tray covered with paper.
- Create a velvety effect on the chocolate surface using an airbrush and a 50/50 mix of milk chocolate and cocoa butter.
STEP 3
- Blow some gold sparkle over the velvet-sprayed moulds.
STEP 4
- Heat the Emotion 58 Belgian dark couverture chocolate to the correct temperature for processing.
- Fill the Easter egg mould with dark chocolate. (88 mm Easter egg mould size)
- Empty the mould.
- Level the mould with a scraper.
STEP 5
- Using a skewer, make a zigzag line slightly higher than half way up the chocolate egg.
- Place the mould in the refrigerator for several minutes and then remove the chocolate eggs from the mould.
STEP 6
- Briefly melt the edges of two chocolate egg halves on a hot plate, or on the bottom of a hot pan, and stick them together immediately.
STEP 7
- Powder the chocolate eggs with gold sparkles, using a brush.
STEP 8
- Use a little bit of Intense 35 Belgian milk couverture chocolate to stick the golden chocolate egg on the moulded chocolate.
STEP 9
III. IN MILK CHOCOLATE ALMOND GIANDUJA
- 250 g dark burnished almonds
- 300 g Intense 35 Belgian milk couverture chocolate
- 25 g nut oil
- 25 g full-cream butter
- 1 g salt
PROCESS
- Place the burnished almonds in a food processor and chop in fine pieces.
- Add the Intense 35 Belgian milk couverture chocolate dots and chop finely together with the almonds.
- Depending on the amount of fat in the almond, you can optionally add nut oil.
STEP 10
- Once you have an oily paste, you can add the butter.
- Use a kitchen cutter to further chop the mass into a nice smooth gianduja.
STEP 11
- Fill half of the chocolate egg with the chocolate almond gianduja.
STEP 12
IV. CRISPY CRUNCHIES
- 150 g Crispy crunchies
- 200 g Emotion 58 Belgian dark couverture chocolate
PROCESS
- Heat the chocolate to the correct temperature for processing.
- Mix the Emotion 58 Belgian dark couverture chocolate with the Crispy crunchies and break into large pieces on a baking tray with paper.
- Apply a layer of Crispy crunchies on the chocolate almond gianduja after the chocolate has hardened.
STEP 13
- Heat the Intense 35 Belgian milk couverture chocolate to the correct processing temperature.
- Spread the chocolate up to 3 mm thick with a glazing knife.
- Using the skewer, make an incision along the Easter bunny’s head.
- Tip: if you want to produce a large quantity, it is easier to make a cutter of the image with an iron band.
STEP 14
- Create the parts that make the Easter bunny’s face using modelling chocolate.
- Tip: marzipan is also a good option.
- The eyes are made of white chocolate. Another possibility is to make the eyes with modelling chocolate or marzipan.
STEP 15
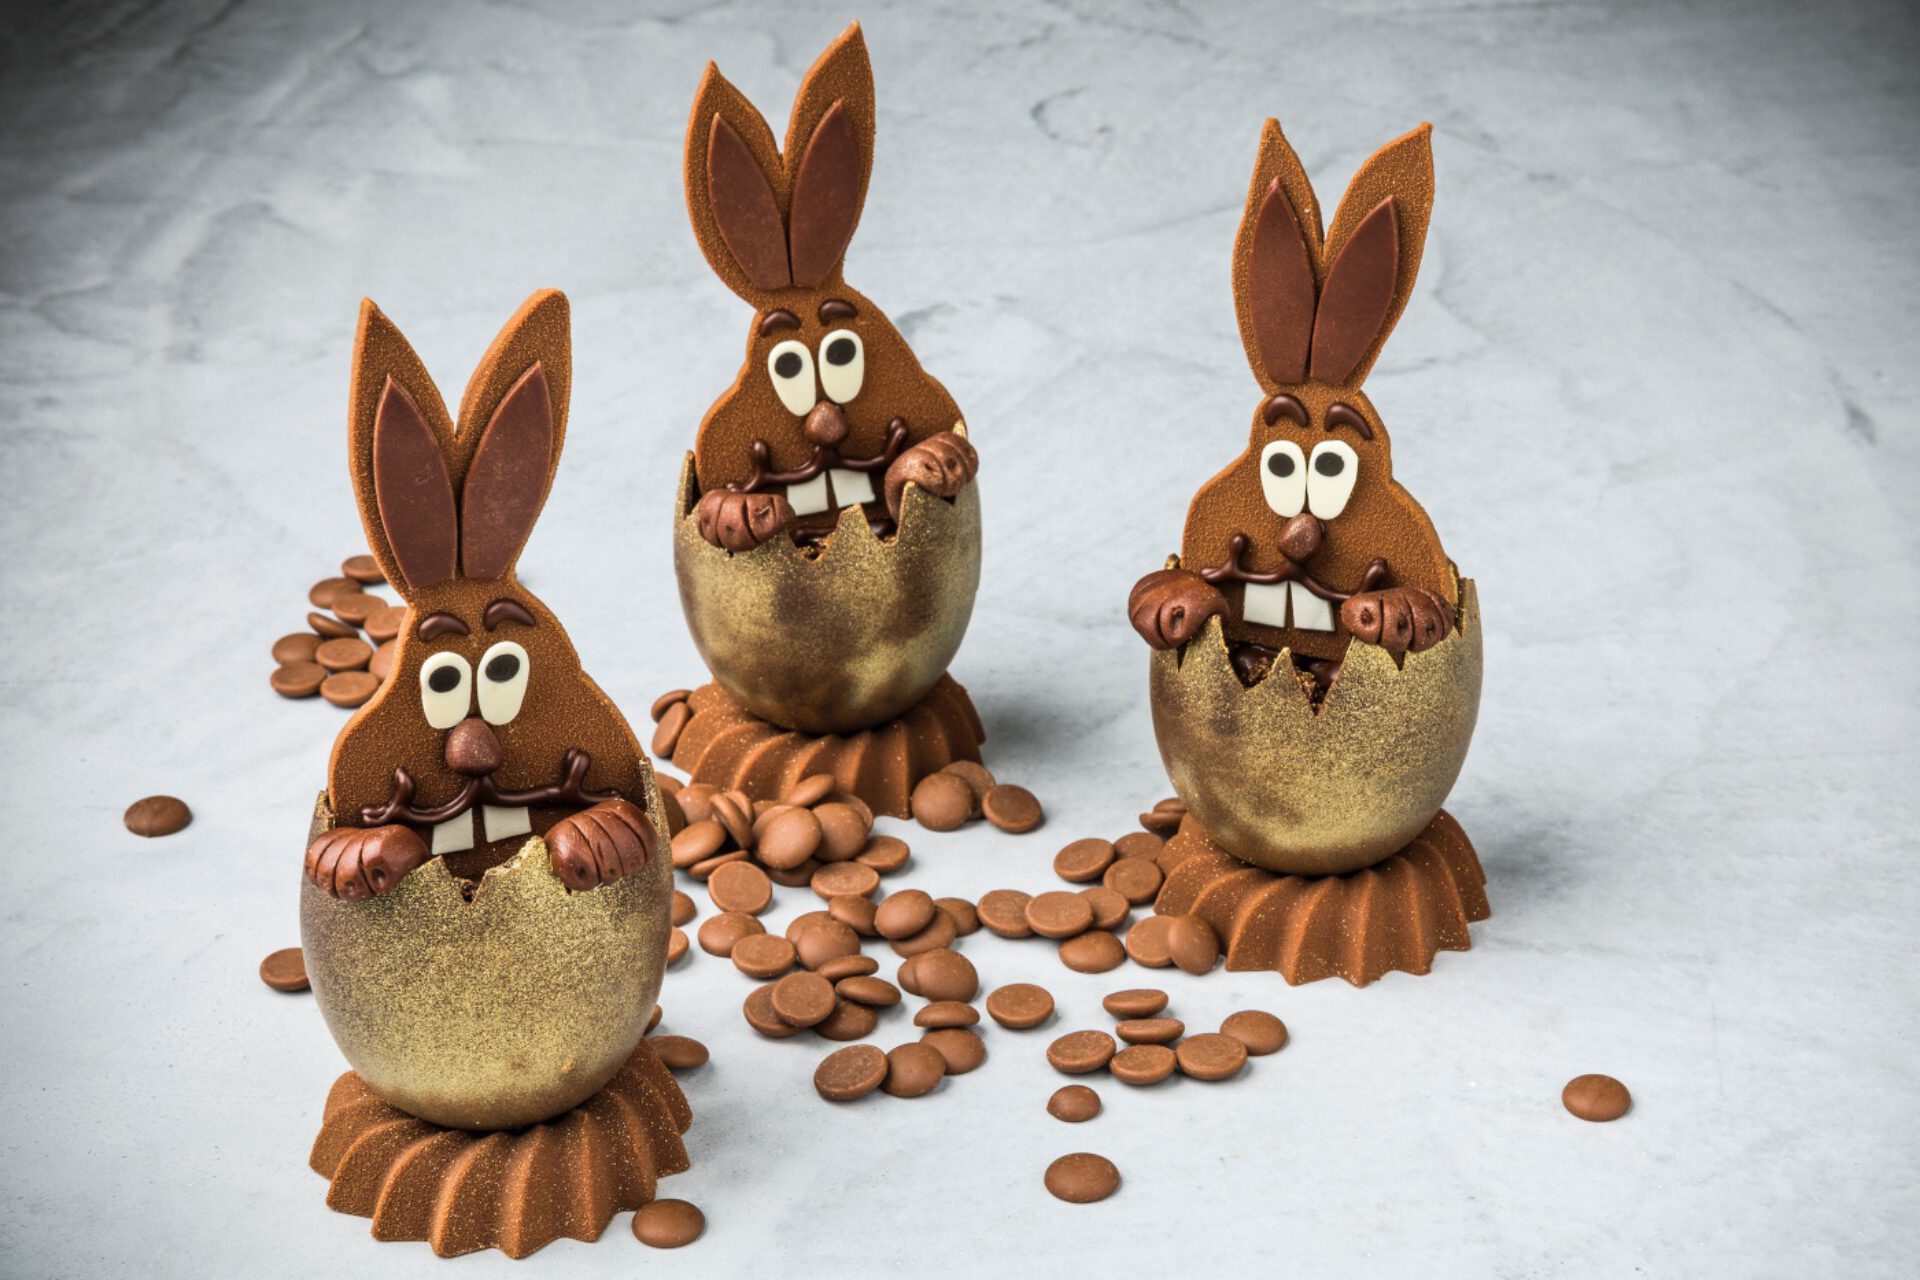
- Stick the chocolate parts, such as ears, eyes, nose and teeth, on the chocolate Easter bunny step by step, using Emotion 58 Belgian dark couverture chocolate.
- Garnish the eyebrows and mouth contouring with Emotion 58 Belgian dark couverture chocolate.
STEP 16
- Make the Easter bunny’s hands from little balls of modelling chocolate.
- Stick them on the edge of the chocolate egg.
STEP 17
- Stick the Easter Bunny faces on the chocolate egg with Emotion 58 Belgian dark couverture chocolate.
STEP 18
- The Easter Bunny in a filled chocolate egg is ready to be presented!


